
Last updated November 15, 2026
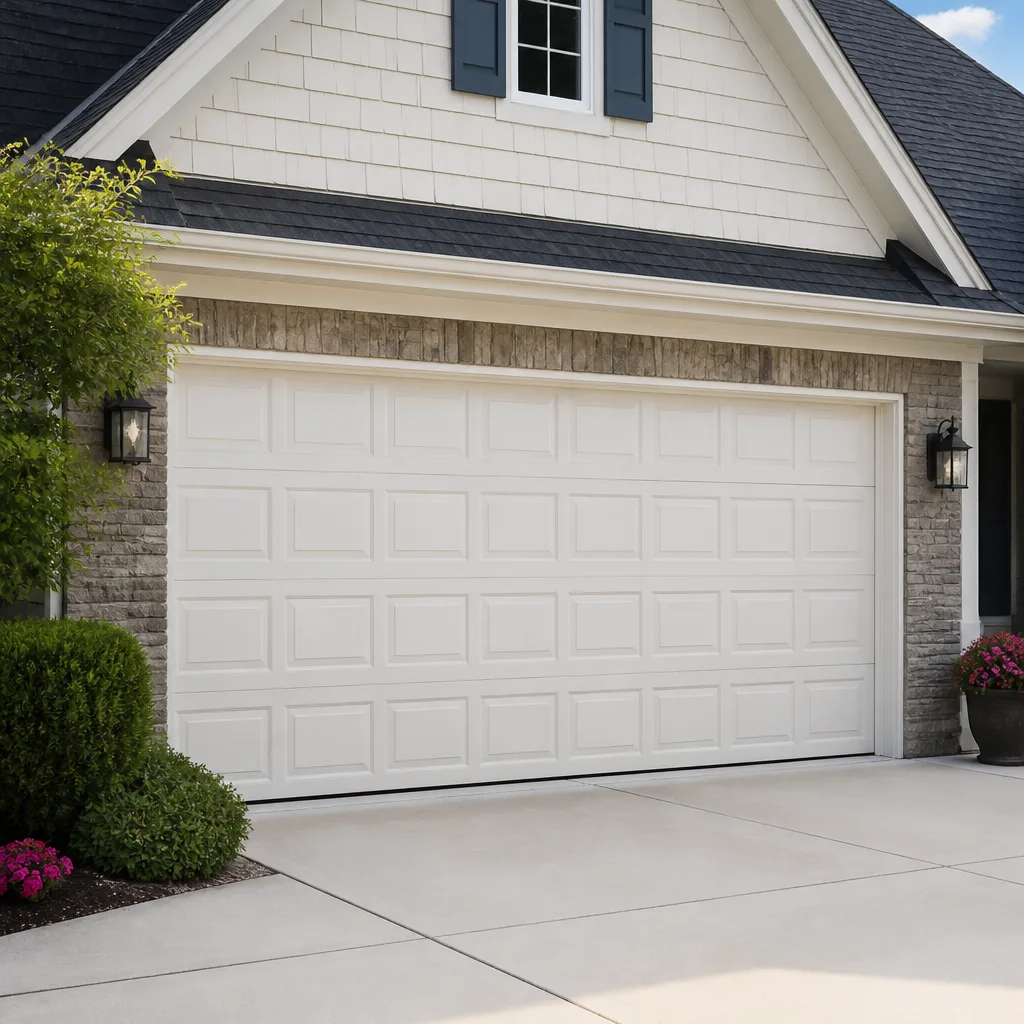 Raised-panel steel
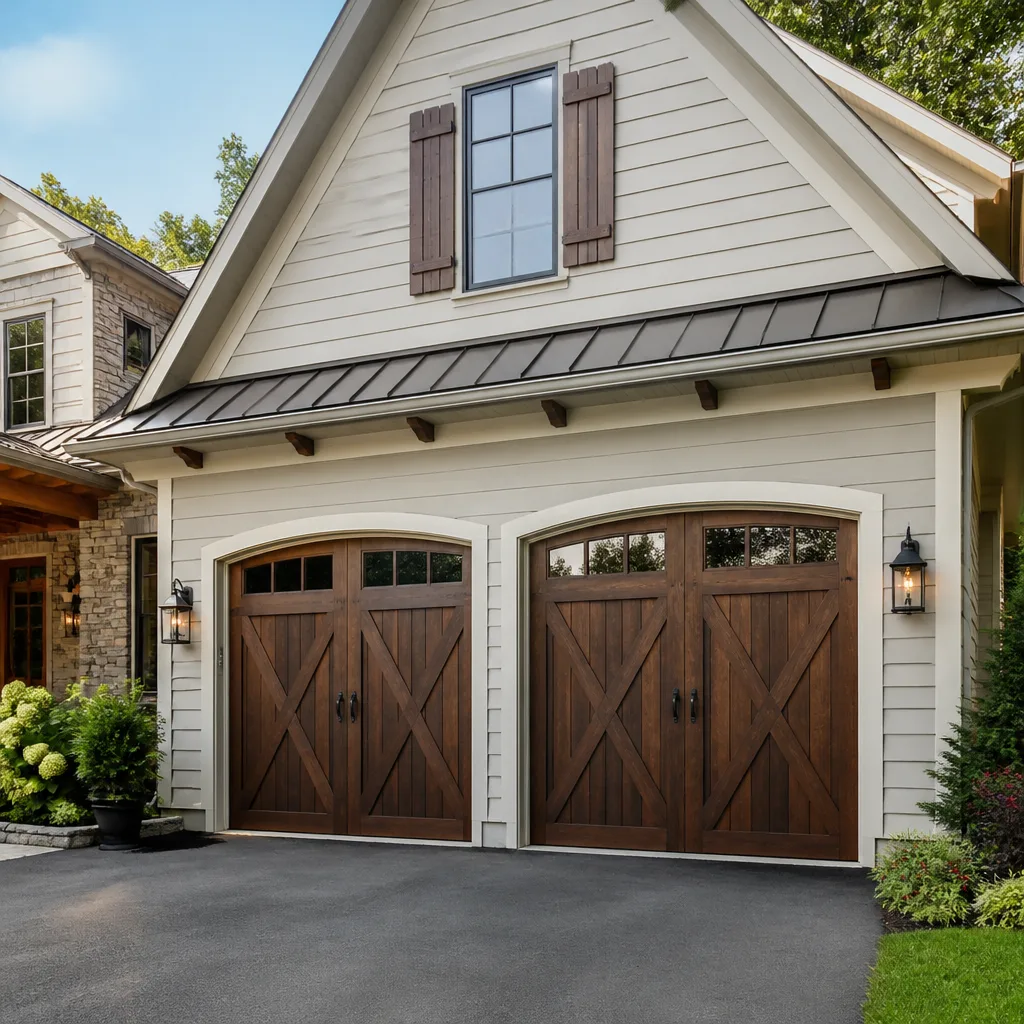 Carriage house
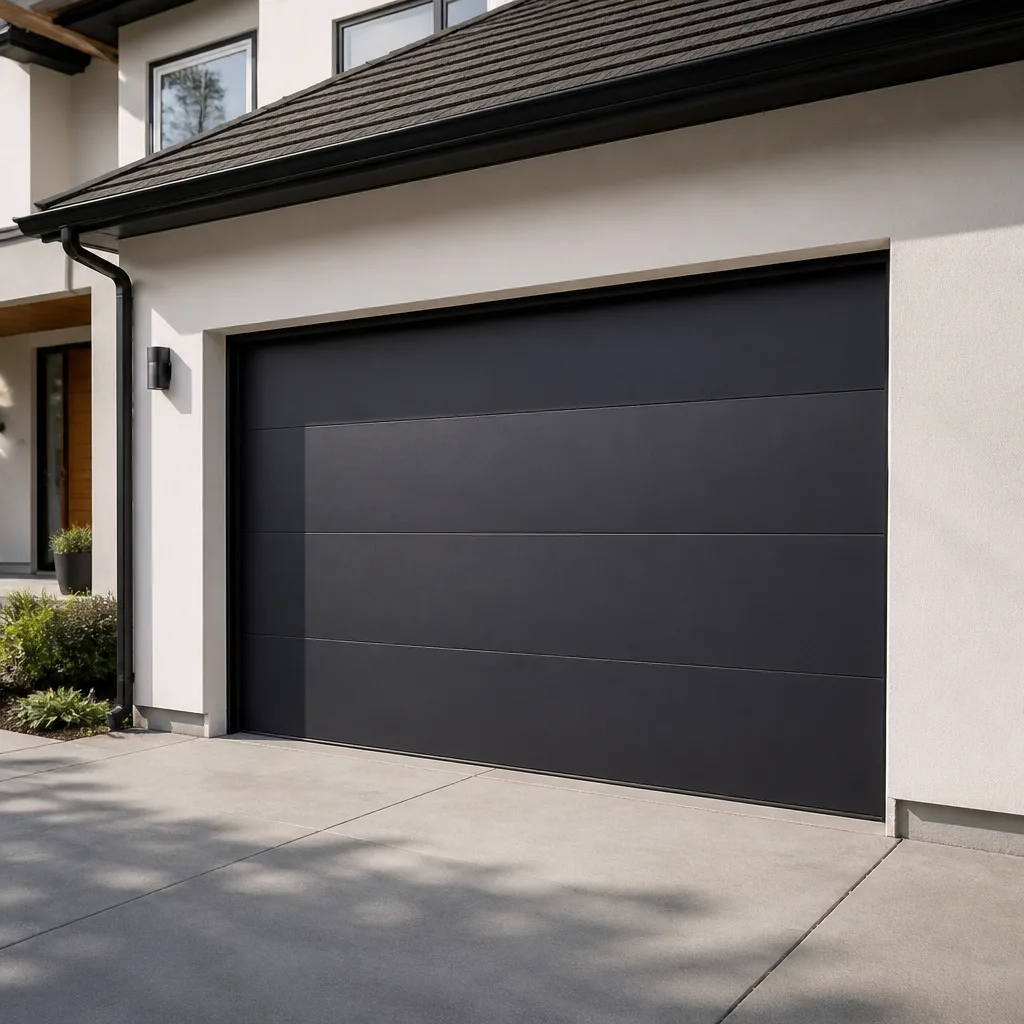 Modern flush
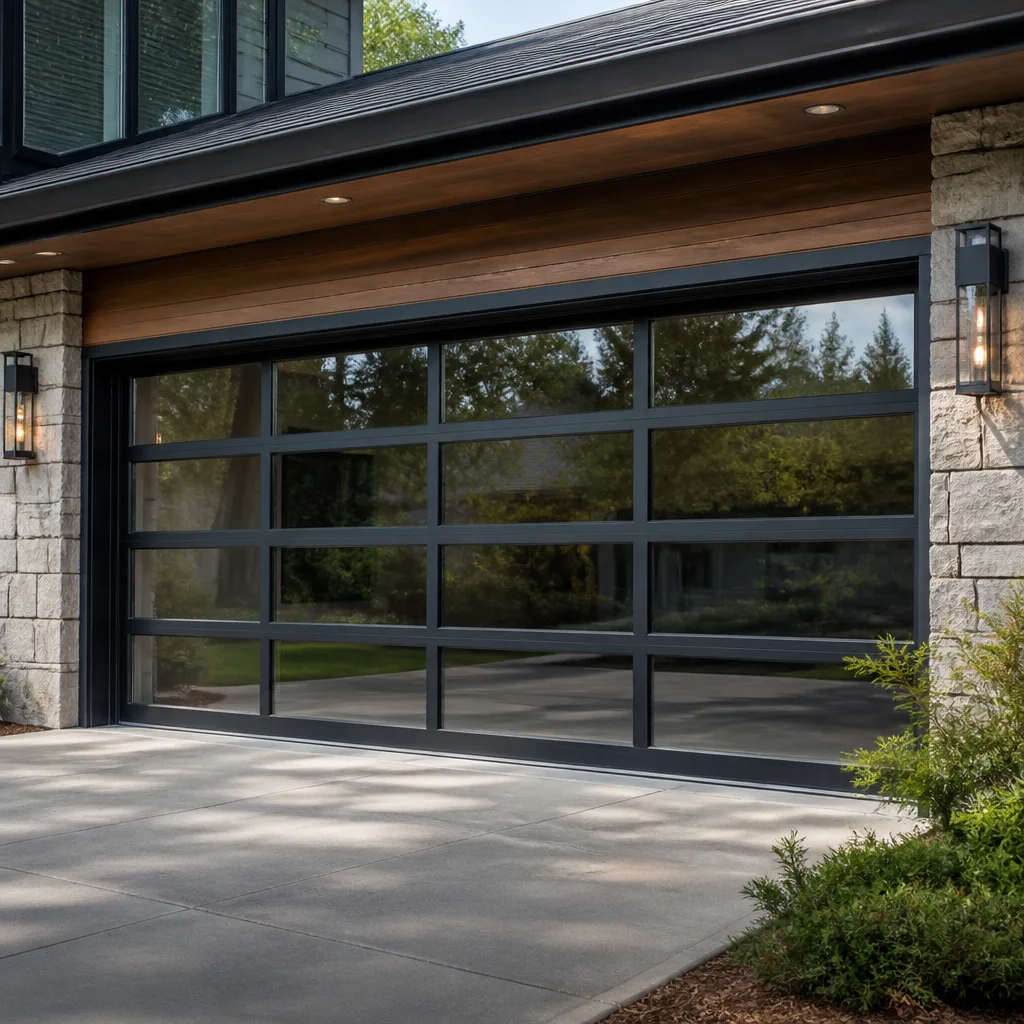 Full-view glass
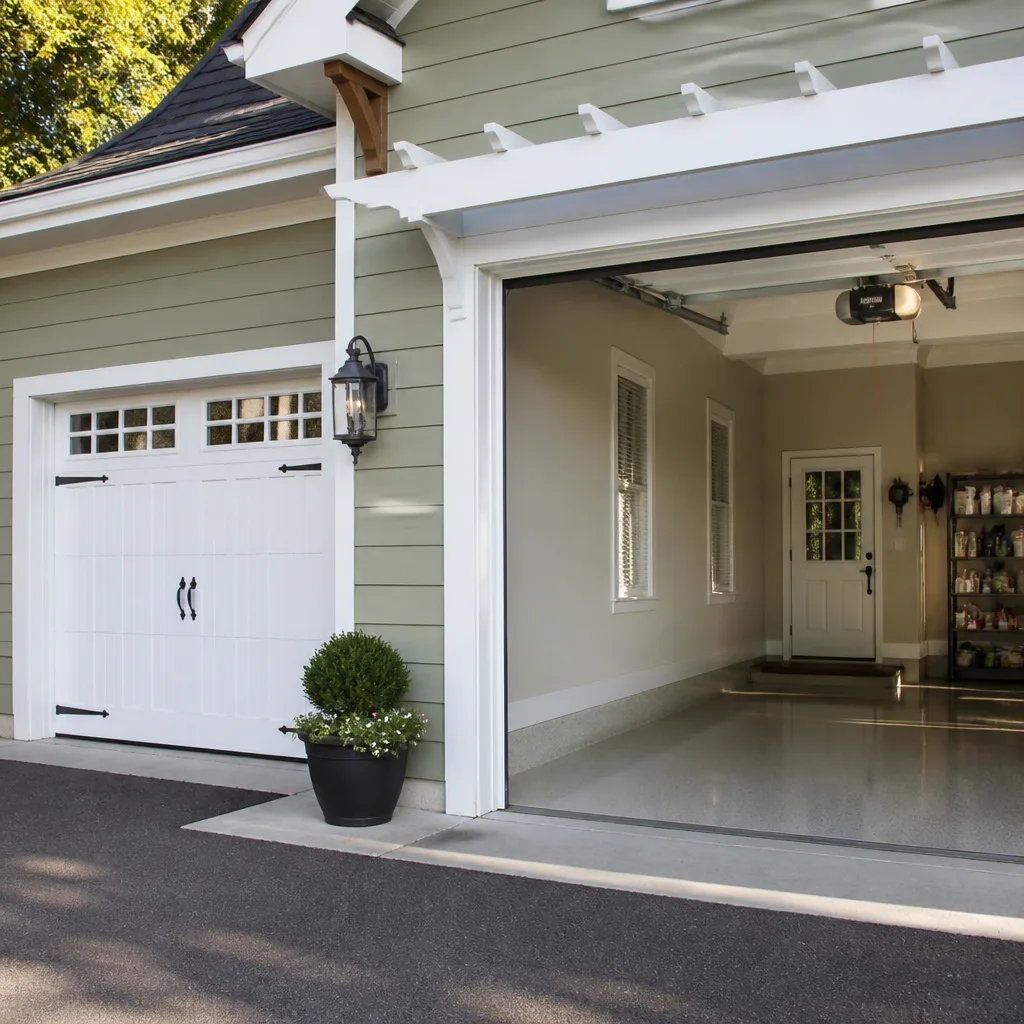 LiftMaster openers
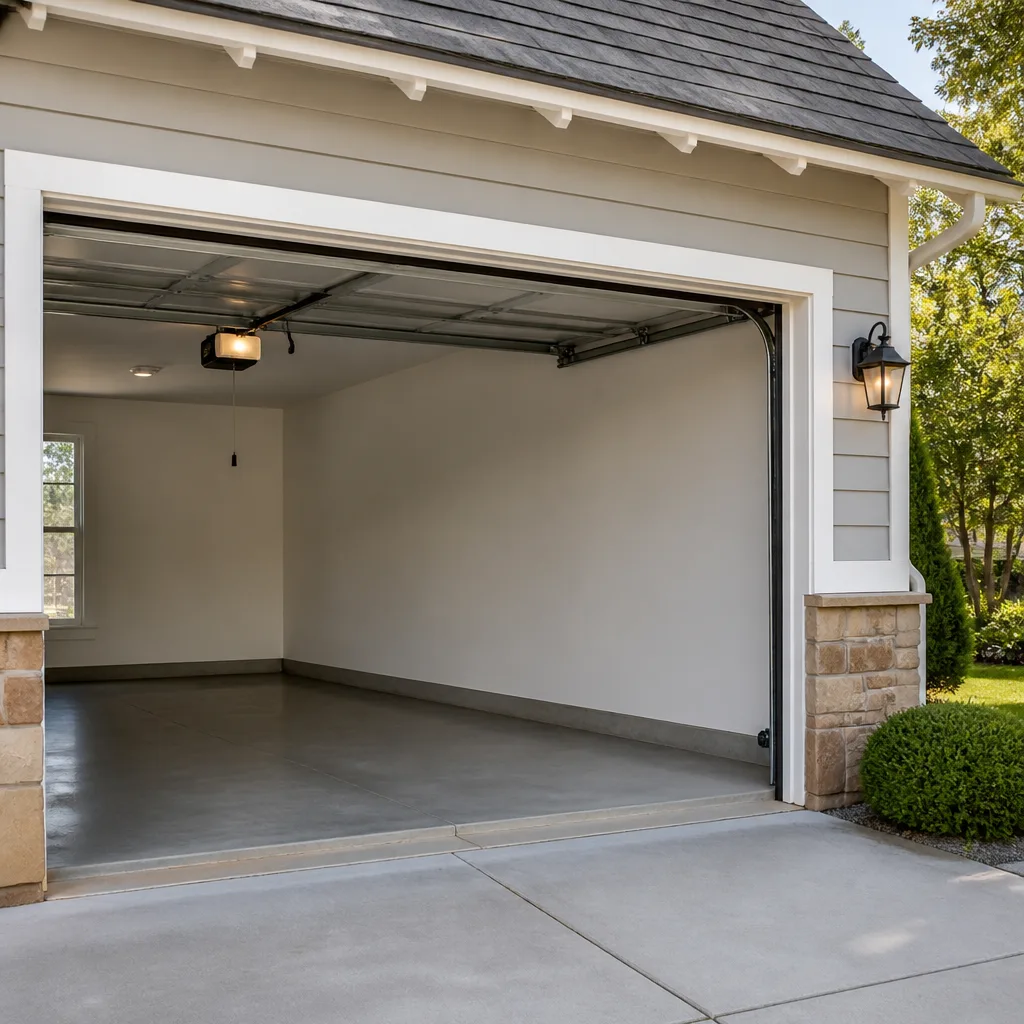 Chamberlain openers
Full 25-point door and opener safety check with every visit - springs, cables, rollers, tracks, and your LiftMaster or Chamberlain opener included
You get a price before we start. It does not change when the pro arrives.
Get your free estimateDIY vs Professional Garage Door: The Arvada Homeowner’s Decision Guide
Most DIY versus professional garage door debates are framed around money, and that framing misses the point. The honest frame is about risk: which specific tasks on a garage door carry a failure mode so fast and so unforgiving that no tutorial can prepare you for it. A torsion spring holds enough stored energy to cause permanent injury the instant it releases, and it releases without warning. That’s one conversation. Lubricating rollers and re-aligning a safety sensor is an entirely different one, and a careful homeowner can handle it. This guide splits the job task by task, so you know exactly where the line sits before you pick up a wrench in Arvada.
Quick Answer
About 70% of routine garage door upkeep is genuinely safe for a competent homeowner: lubrication, weather seal replacement, photo-eye alignment, opener programming, and tightening minor hardware. The other 30% – torsion spring replacement, cable replacement, track realignment, and header or structural assessment – belongs to a trained technician regardless of your skill level, because the injury margin on those jobs is zero. When in doubt, treat springs and cables as untouchable.
Styles & brands we work with
- Raised-panel steel
- Carriage house
- Modern flush
- Full-view glass
- LiftMaster openers
- Chamberlain openers
Table of Contents
- Why Springs Are a Different Risk Category Entirely
- What’s Genuinely Safe to DIY (and How to Do It)
- What Requires a Professional Regardless of Skill Level
- The Real Math: DIY Mistake vs Professional Repair
- Sourcing Correct Parts by Brand and Model Number
- When a Quick Fix Voids a Remaining Manufacturer Warranty
- Arvada-Specific Considerations
- Common Mistakes to Avoid
- When to Call a Professional
- Frequently Asked Questions
Why Springs Are a Different Risk Category Entirely
A torsion spring on a standard residential door is wound to somewhere between 200 and 300 pounds of counterbalance tension. That’s not a slow-release force. When a spring fails during winding or unwinding, the stored energy releases in a fraction of a second, and the winding bars or the spring itself can swing free at hand height. The failure mode has no warning stage. A homeowner doesn’t get a “settle” or a “tick” that gives them time to move – it just lets go.
This is why we treat spring work differently from every other garage door task. It’s not that homeowners are careless. It’s that the buffer between a normal repair job and a serious injury on a torsion spring is essentially zero, and no video tutorial can build that buffer for you.
The same principle applies to extension springs, though the mechanism is different. Extension springs along the horizontal tracks can snap and whip toward whatever is on the other side of the track, which is why modern installations require a containment cable running through the center of each spring. If your door has extension springs without containment cables, that’s a safety upgrade worth having a technician look at.
What springs are not: they aren’t mystical. A trained technician measures wire gauge, inside diameter, and spring length, matches it to the door’s weight and track geometry, and winds the replacement to a specific number of turns. Our technicians have up to 8 years of experience doing exactly this, and it’s the single most common job in Arvada Garage Door Service work. It’s methodical and predictable for someone who does it every day. It’s genuinely dangerous for someone doing it for the first time.
If a spring has snapped – you’ll know because the door is suddenly dead weight or won’t lift more than a foot – do not attempt to open the door by hand and do not remove the broken spring yourself. Call a technician. The door can sit closed safely while you wait.
What’s Genuinely Safe to DIY (and How to Do It)
The safe-to-DIY list is longer than most homeowners expect. These five tasks carry essentially no injury risk and no warranty risk when done with the right materials. They’re also the tasks that keep a door running smoothly for years.
1. Lubrication
Every roller, hinge, and pivot point on your door needs a light coat of white lithium grease or a silicone-based lubricant once or twice a year, more often in a dry climate like Arvada’s where dust settles into the moving parts. Don’t use WD-40 as a lubricant – it’s a solvent and it will strip existing grease. A proper garage door lubricant is cheap and takes about ten minutes to apply.
2. Weather Seal Replacement
The bottom rubber seal and the perimeter trim seals are wear items. They crack, harden, or tear loose. Replacing the bottom seal is a simple pull-and-slide job on most doors. Perimeter trim seals slide into the vertical tracks or nail to the frame. This is DIY territory as long as you buy the right profile for your door’s bottom retainer.
3. Photo-Eye Sensor Alignment
If your door reverses as soon as it starts to close, or won’t close at all, the photo-eye sensors near the floor are the first thing to check. A small LED on each sensor should be lit steadily when the sensors are aligned and unobstructed. Wipe the lenses, check that the brackets haven’t been bumped, and adjust the aim. This is a five-minute fix and one of the most common service calls.
4. Opener Programming
Syncing a new remote, reprogramming a keypad, or resetting the travel limits on a Chamberlain, LiftMaster, or Genie opener is well within DIY reach. The opener’s manual gives the exact button sequence for your model. The main rule is to program the remotes one at a time so you can confirm each pairing before moving to the next.
5. Minor Hardware Tightening
Loose hinge bolts, a rattling bracket, a handle that’s working itself free – all fair game with a socket set. A door that shimmies or clicks as it moves often just needs fifteen minutes of tightening. Take a torque wrench to it if you want to be careful; over-tightening hinge bolts is a real thing and can crack the hinge.
What Requires a Professional Regardless of Skill Level
Four categories of work should never be DIY on a garage door. This isn’t a caution designed to sell a service call – it’s a genuine list you can hold any contractor to. If you’re ever wondering whether a task falls on this list, it does.
- Torsion spring replacement. Unless you have an engineered spring-winding bar setup, the knowledge to match wire gauge and length to the door’s balance, and the physical margin to control a 250-pound release, this stays with a technician. The risk isn’t just injury – a spring wound to the wrong tension can bend or damage the door’s opener.
- Cable replacement. Cables and springs are a matched system. When a cable fails, the door can drop suddenly. Replacing a cable involves re-tensioning the whole system in coordination with the spring tension, and it’s the second most dangerous job on the door.
- Track realignment. Track work sounds like a mechanical adjustment, but a bent or misaligned track can send the door off its rollers mid-travel. It’s tied directly to the door’s weight distribution and the spring tension, which means it’s never an isolated fix.
- Structural header assessment. If the door sags, the top panel bows, or the header above the opening is showing cracks, this isn’t a garage door problem – it’s a structural one. A technician needs to assess whether the door shouldn’t be operated at all until the structure is addressed.
In our experience, the boundary between these four categories and safe DIY work is the single most useful thing to know as a homeowner. Interior lubrication and sensor adjustment are yours. Springs, cables, tracks, and structure are not, and the reason is consistent: they involve either stored energy or load distribution, both of which have a zero-error margin.
The Real Math: DIY Mistake vs Professional Repair
Let’s do the math honestly. A single torsion spring replacement from a professional runs roughly $150 to $300 depending on the spring type and door size, and a matched pair (which is usually what you should replace together, because a spring that’s failed has a twin that’s lived the same lifespan) runs roughly twice that. A DIY attempt on the same job saves that cost if it goes perfectly. Here’s the risk-adjusted view of what “goes perfectly” really means.
Scenario 1: The DIY attempt succeeds
You buy the correct spring for $40 to $80, borrow or buy two winding bars for another $20 to $40, spend two hours, and your door works. You’ve saved about $100 to $200 compared to a professional pair replacement – but only if you correctly identified the spring’s wire gauge, inside diameter, and length, and wound it to the right number of turns. A spring wound wrong can shorten its own life or strain the opener.
Scenario 2: The DIY attempt damages something else
A spring released under tension can bend a track, shear a hinge, crack a panel, or damage the opener’s gear assembly. That additional damage typically costs more to fix than the original spring job would have. A bent track realignment or a panel replacement on a Clopay door pushes the cost of the “saved” repair well past the original estimate.
Scenario 3: Injury
We won’t put a number on this because the range is wide and personal, but a hand or facial injury from a released spring can mean an urgent care or ER visit, missed work, and physical therapy. The math isn’t close. Nobody saves money on a torsion spring once injury enters the equation.
The honest takeaway: springs and cables carry a small chance of a very large downside. On a risk-adjusted basis, the professional cost is the cheaper path. For the safe-to-DIY tasks in the previous section, the calculation flips cleanly – do them yourself.
Sourcing Correct Parts by Brand and Model Number
Sourcing is where DIY gets harder than it looks, and where brand knowledge pays off. Garage door hardware is not universal. A roller that fits a Clopay door may not seat correctly in a Wayne Dalton track. Opener remotes and safety sensors are brand-specific and often model-specific within a brand. Buying the wrong part is one of the most common DIY misfires we see.
How to identify what you need
- Locate the model data plate. On most doors, it’s a sticker on the bottom of the bottom section or the inside of the top section. On openers, it’s on the back or side of the motor housing.
- Write down the full model number. Not just the brand – the complete model, including any suffix. A Chamberlain B970 is not the same unit as a Chamberlain B550 for parts purposes.
- Match the part family. Springs, rollers, hinges, and cables are matched to the door’s weight class and track type. Opener remotes, safety sensors, and gear kits are matched to the opener model.
- Buy from a supplier that stocks residential hardware. Big-box home improvement stores carry universal items like rollers and bottom seals, but specialist springs and opener parts usually come from a garage door supply house or the manufacturer’s parts channel.
On the Arvada side, if you don’t want to research the part yourself, the fastest path is to call us with the model number. We work fluently across the eight most widely installed residential brands – LiftMaster, Chamberlain, Genie, Clopay, Amarr, Wayne Dalton, Craftsman, and Raynor – which means we can usually identify the correct part from the model number without a site visit. That’s not a sales pitch. It’s just faster than three wrong Amazon orders.
When a Quick Fix Voids a Remaining Manufacturer Warranty
Newer systems often carry a manufacturer’s warranty still in effect. If your door was installed within the last several years, or if a prior owner installed it and the warranty transferred, DIY work on certain components can affect that coverage. The key is knowing which components are covered and which aren’t.
For a newer Chamberlain or LiftMaster opener, the warranty typically covers the motor and the electronic control board for a defined period, and that coverage assumes the unit wasn’t modified or repaired outside of authorized channels. A DIY gear-and-sprocket replacement or a home-brew control board fix can void the remaining coverage on the specific component you touched, even if the rest of the unit stays covered.
For a newer Clopay door, the panel warranty and the hardware warranty are often separate. The panel finish and structural integrity warranty can be affected if you drill, cut, or weld the door sections – which means DIY track modifications or adding a non-standard opener mount can put the structural warranty at risk. Lubrication, weather seal replacement, and photo-eye alignment won’t touch any warranty. Track work and structural modifications will.
The rule of thumb: if the task uses hand tools on removable wear items, you’re safe. If it involves drilling, welding, cutting, or removing the door from its tracks, check the warranty documentation first. If you didn’t get the warranty at purchase, either the previous owner has it or the manufacturer’s parts department can tell you the standard terms for that model.
Arvada-Specific Considerations
Garage doors in Arvada work under conditions that affect what wears out and how often. The Front Range climate swings hard – hot, dry summers, cold winters with freeze-thaw cycles, and plenty of wind-driven dust. That combination puts specific wear on specific parts.
- Dust and grit accelerate roller and hinge wear. The dry air in Arvada carries fine dust that settles into the hinge pivots and roller races. If you’re not lubricating twice a year, wear accelerates fast.
- Temperature swings stress springs. A torsion spring wound for a specific balance point has to manage a harder seasonal load shift here than in a mild climate. Spring life averages are shorter on the Front Range than in stable-temperature regions.
- Wind loads affect door balance. Arvada’s wind patterns put more stress on door panels and track alignment than typical inland climates, which is one reason track realignment is a common service call.
- Weather seals wear harder. The bottom seal on any Arvada garage door takes more of a beating from UV and temperature cycling than in milder climates, and it’s worth replacing every two to three years if you want to keep drafts out of the garage.
For homeowners in Arvada neighborhoods like Olde Town, Ralston Valley, and Candelas, the pattern is consistent: doors a decade or older commonly need a spring replacement, a bottom seal, and a fresh lubrication cycle simultaneously. If you’re in that group, the safe DIY tasks in this guide are worth doing, and the spring work belongs to a technician. We cover this in more detail on our garage door repair page.
Common Mistakes to Avoid
- Trying to open a door with a snapped spring. The visual cue that a spring is broken is obvious once you see it. The temptation is to lift the door manually to get the car out. Don’t. A door with a failed spring can come down on whoever is underneath it. Call for repair, and use another exit.
- Using WD-40 as a garage door lubricant. It’s a common mistake and it does short-term good, then dries out and leaves the tracks worse than they started. Buy an actual garage door lubricant. The cost difference is a few dollars and the outcome is very different.
- Adjusting the travel limits on an older Genie or Chamberlain opener without reading the manual. The sequence varies by model, and a wrong adjustment can stress the door or the opener. If you don’t have the manual, search the model number and download the PDF before touching the limit screws.
- Assuming all roller sizes are interchangeable. Rollers come in different widths and stem lengths, and a mismatched roller can slip out of the hinge or bind in the track. Match to the existing roller, not to a generic size.
- Replacing just one torsion spring. When a matched pair has one failure, the other spring is the same age and under the same load. Replacing one and leaving the other usually means the second fails soon after, and it’s more work to have the job done twice.
- Ignoring a bent track because the door still opens. A slightly bent track can wear the rollers or edge the door off its path. Fixing a small bend early is a fraction of the cost of fixing the panel that gets damaged when the door rides off the track.
- Assuming a “universal” remote will work with a newer opener. On a newer Chamberlain or LiftMaster with rolling code security, the remote has to match the specific opener’s frequency and rolling code protocol. A cheap universal remote often doesn’t pair, or pairs once and then fails.
When to Call a Professional
Some situations always belong with a technician, and some of them are urgent. Call for a professional assessment if you see any of the following: a snapped or visibly deformed spring, cable damage or slack on either side, a door that hangs crooked or sags on one side, a door that comes off its track, a bent or cracked panel, a door that reverses mid-close or won’t close fully, or any structural issue with the header above the opening. Those are not judgment calls – they’re stop-and-call. Our garage door opener repair and repair teams handle spring, cable, track, panel, and opener work across Arvada, and the estimate is always free. Call (866) 984-9695 to schedule. We answer 24/7. Fast dispatch from 7am to 7pm, Sunday through Friday.
For homeowners who want brand-specific help on a LiftMaster, Chamberlain, Genie, or Clopay system, mention the model when you call. It saves time and often saves a second visit. Arvada Garage Door Service is a brand-agnostic specialist – we service and install across the eight most widely used brands, which means we’re not tied to selling you one manufacturer’s recommendation.
Frequently Asked Questions
Technically yes, but we strongly advise against it. A torsion spring stores enough energy to cause permanent injury the instant it releases, and the release happens without warning. Safer DIY spring replacement requires specialized winding bars, correct spring matching by wire gauge and length, and the physical margin to control a 250-pound release. For the vast majority of homeowners, the risk-adjusted math favors professional replacement.
A single torsion spring replacement in Arvada typically runs $150 to $300 depending on the door size and spring type. A matched pair, which is usually the right approach when one spring has failed, runs roughly twice that. The written estimate sets the final price, and it’s quoted before any work starts. Call (866) 984-9695 for an exact quote – estimates are free.
Lubrication, weather seal replacement, photo-eye sensor alignment, opener programming, and minor hardware tightening are all safe for a competent homeowner. Those five tasks carry essentially no injury risk and no warranty risk when done with correct materials. Springs, cables, track realignment, and structural header work belong with a trained technician.
It depends on the component. Lubrication, seal replacement, and sensor work won’t affect a manufacturer warranty. Drilling, cutting, or welding door sections – or modifying opener electronics outside authorized channels – can affect the remaining coverage on the specific component touched. If you’re not sure, check the warranty documentation or ask the manufacturer’s parts department for the standard terms on your model.
Twice a year is the standard, but Arvada’s dry, dusty climate accelerates roller and hinge wear faster than mild climates. If your door is on a busy street or in a windy spot, three times a year is reasonable. Use a white lithium or silicone-based garage door lubricant, not WD-40.
The most common cold-weather cause in Arvada is a spring that’s lost tension or a seal that’s frozen to the floor. Don’t force the door up – that can damage the opener or the panels. If the door won’t lift manually with reasonable force, the spring is the likely culprit and it belongs with a technician. If the door lifts but the opener won’t run, check the manual release and the opener’s diagnostic LED. Call us for an assessment if the door feels heavy or binds at any point.
The Bottom Line
The DIY versus professional decision on a garage door comes down to which task you’re doing, not how capable you are. Lubrication, weather seal replacement, photo-eye alignment, opener programming, and hardware tightening are safe, cost-effective, and worth doing yourself. Torsion springs, cables, track realignment, and structural header work are not – the injury margin on those jobs is zero, and no amount of skill compensates for that. If you’re in the safe-DIY zone, use this guide and save the cost. If you’re in the professional-only zone, call and have it done once, correctly. If the door is struggling and you want a straight answer on brand-specific parts or a repair estimate, call (866) 984-9695. Our technicians have up to 8 years of experience across LiftMaster, Chamberlain, Genie, Clopay, and four other major brands, and we serve homeowners throughout Arvada with free estimates and a price agreed before any work starts.
Written by the team at Arvada Garage Door Service.
See the difference
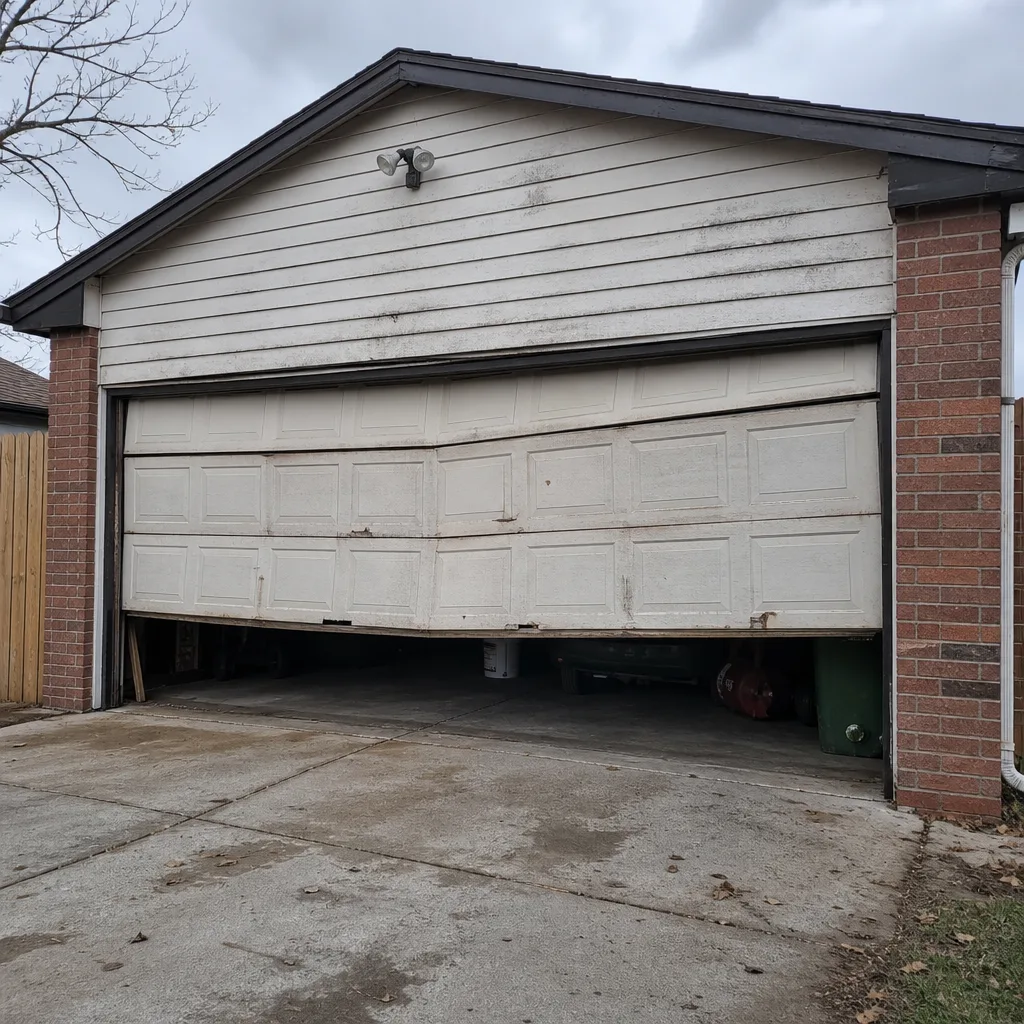 Before
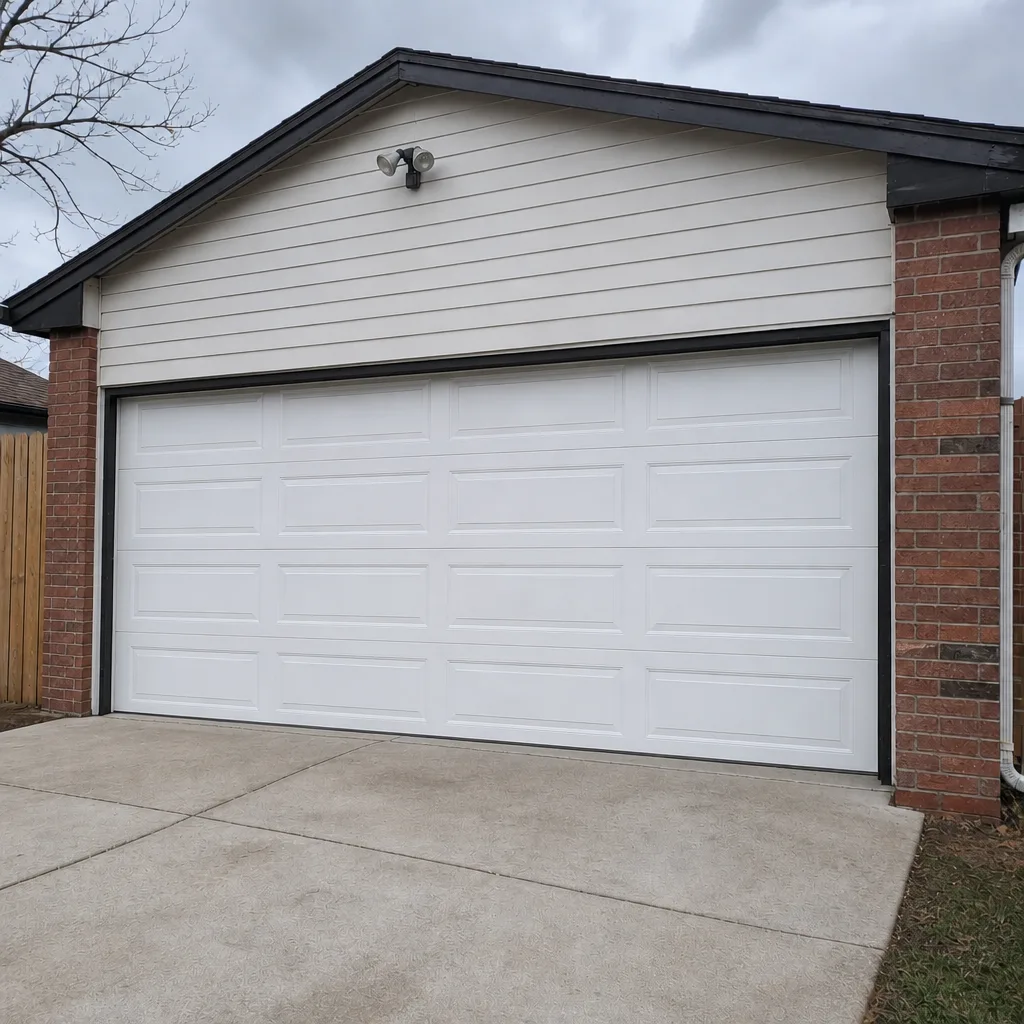 After
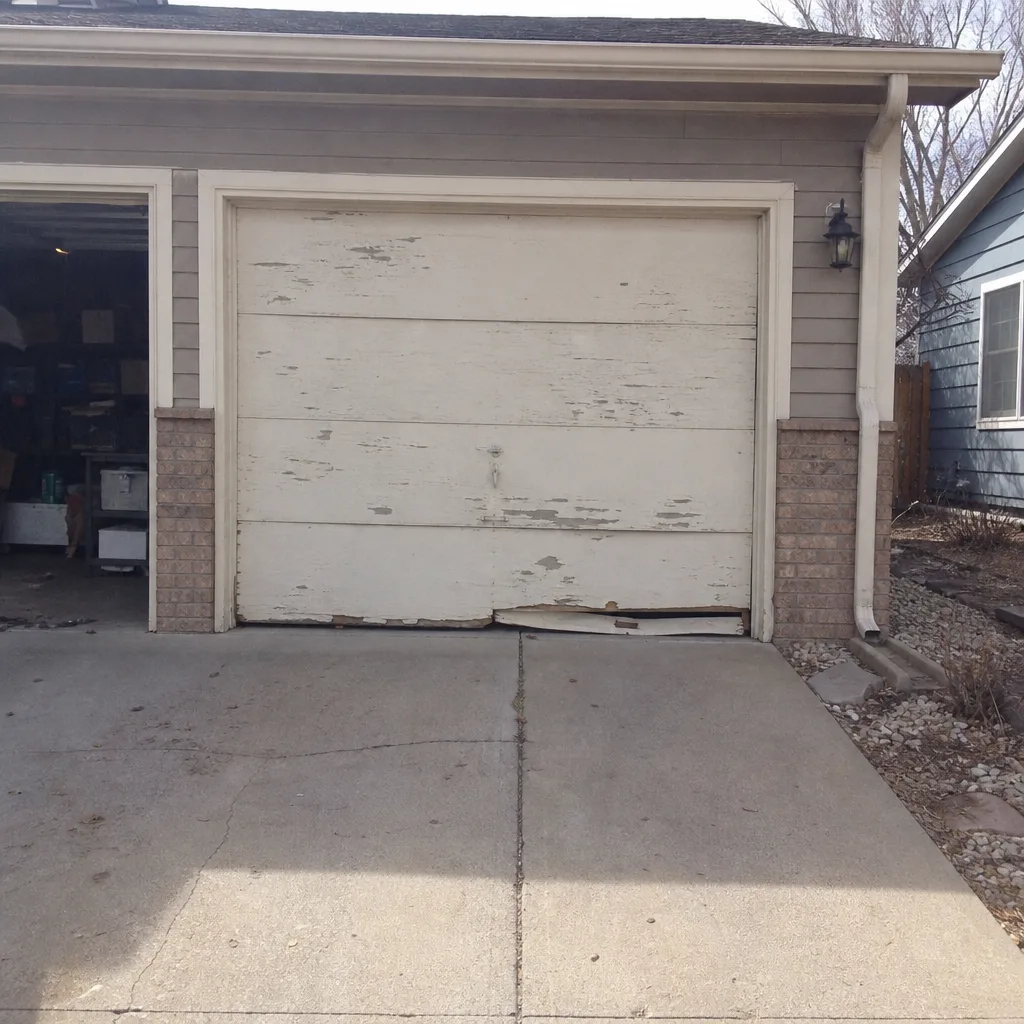 Before
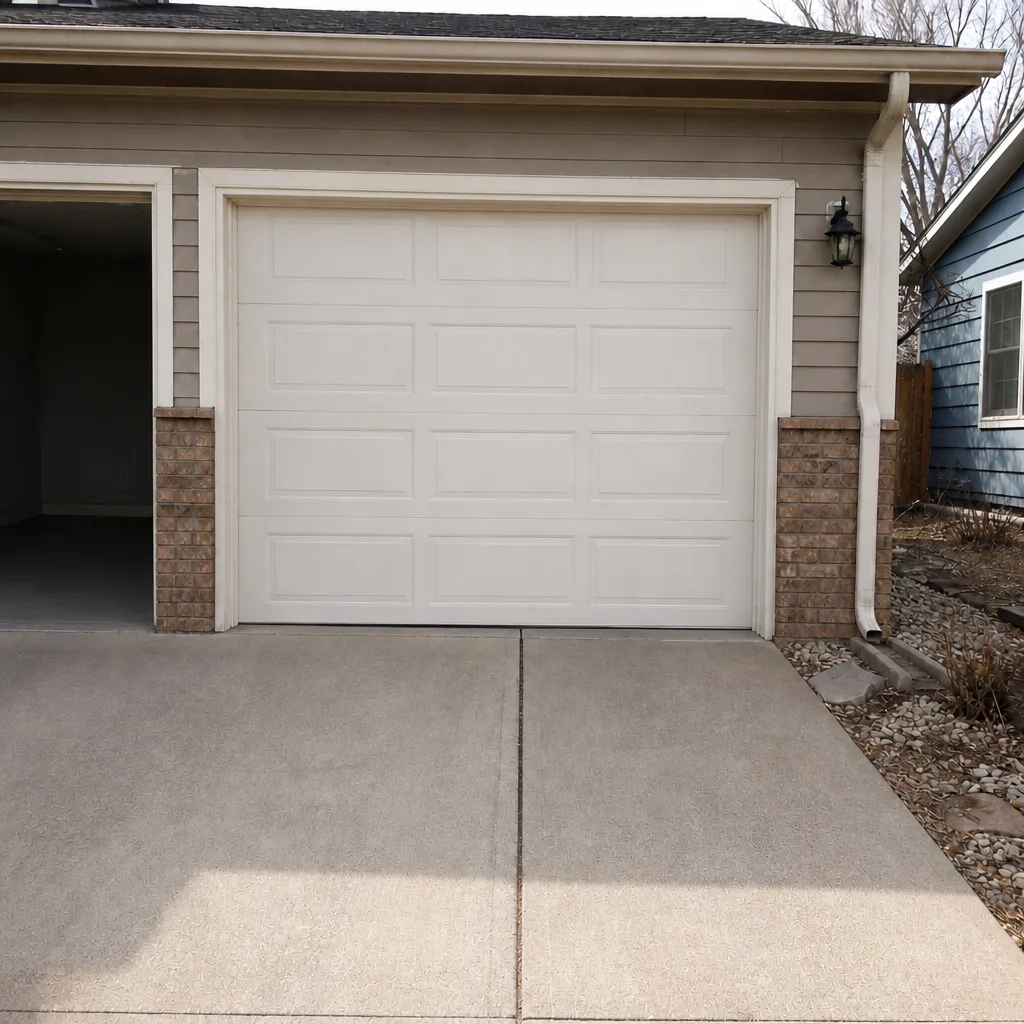 After
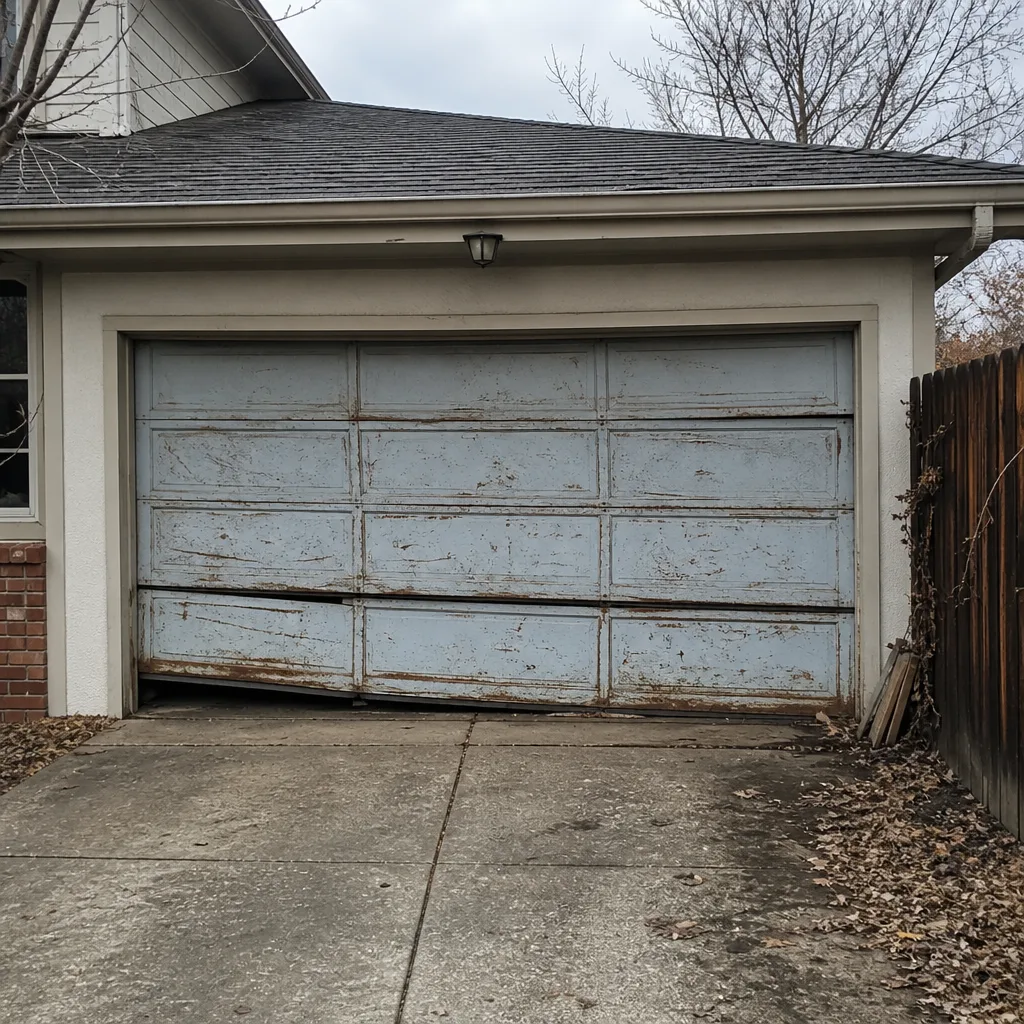 Before
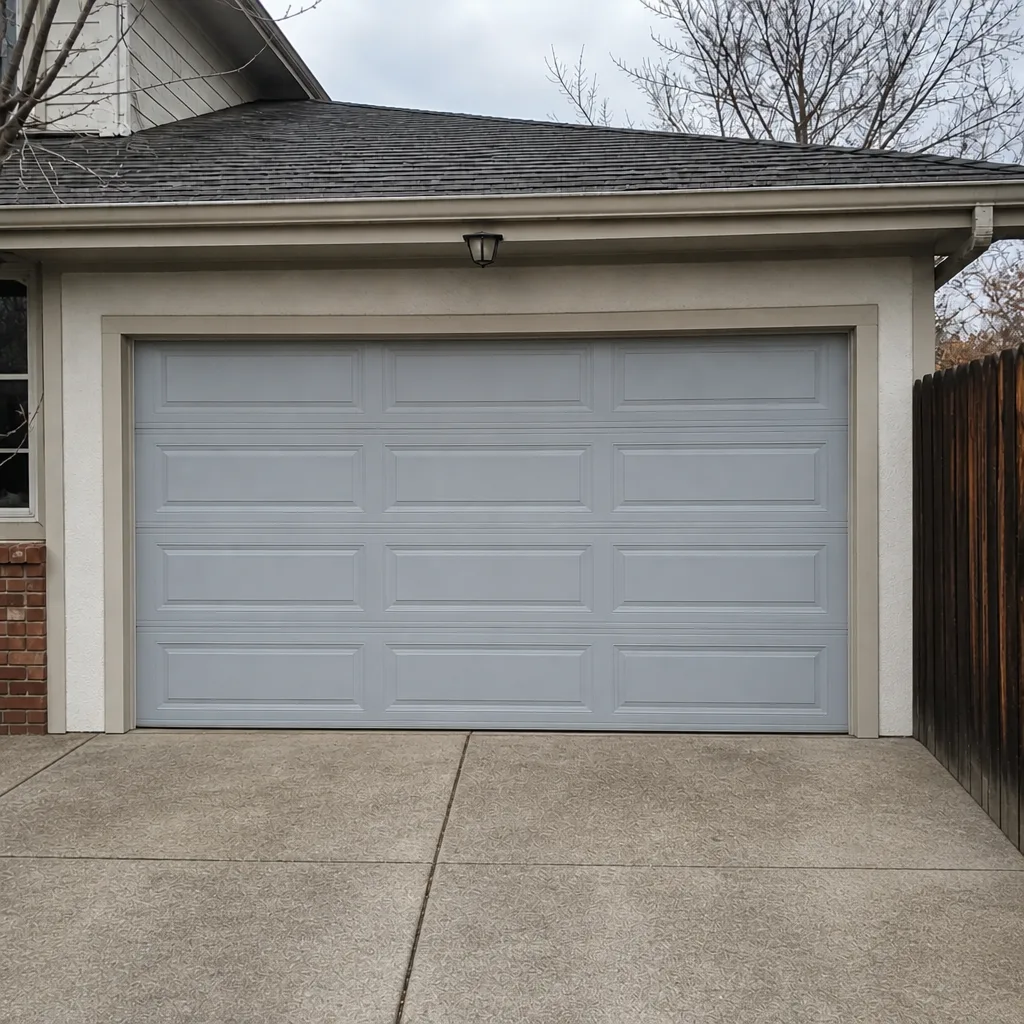 After